We use cookies to make your experience better. To comply with the new e-Privacy directive, we need to ask for your consent to set the cookies. Learn more.
Switch 2 Dr Dabber Features and How To Use Guide
Age Verification
Please confirm you are over 18 to visit this website
-
May 14, 2025

The Ultimate Guide to Using the Dr. Dabber Switch 2: Step-by-Step Instructions + Features Table
Introduction
Dabbing is so much more than a mere consumption practice; it’s an intricate and ritualistic art form. And the Dr. Dabber Switch 2? Well that is the true new master device that every single modern concentrate connoisseur needs in their kit. It provides the ultimate in dialling in exact temperatures for flavour-chasing, those after powerful, mind-wrecking effects or those who are just looking to get the cleanest, smoothest hits possible, the Switch 2 delivers like few rigs ever have. Dr. Dabber have truly changed the game with this incredible new vaporizer.
This ultimate guide will take you from curious beginner to confident power user. We’ll walk through setup, app syncing, the magic of the heated tool, and even cover secret dry herb functionality. Plus, we’ll unpack every feature, explain every mode, and help you keep your rig running like new.
Ready to explore the Switch 2? Let’s dive in.

Unboxing the Dr. Dabber Switch 2
First Impressions Matter
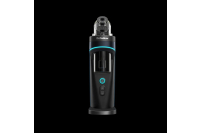
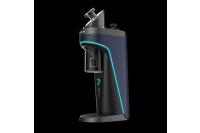
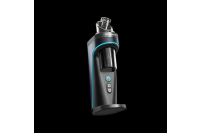
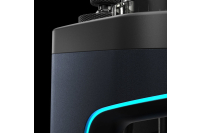
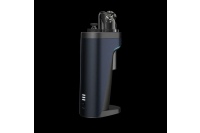
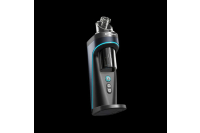
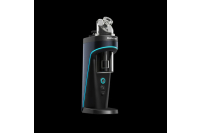
Opening the Switch 2 box feels like unboxing a piece of high-end tech gear—honestly, that’s what it is. Everything is housed neatly, and you’ll quickly notice the sleek aesthetic and fairly weighty, premium build.
Inside, you’ll find:
- The Switch 2 base unit
- A removable 20mm quartz insert
- Magnetic carb cap
- Heated loading tool
- Glass bubbler attachment
- Tweezers
- USB charging cable
Bonus accessories like the Sapphire insert and Inclyer glass attachment are sold separately but are well worth the splurge if you want a luxury experience.You can also buy extra quartz dishes in case you aren't as on the ball with cleaning as you should be.
Key Features of the Switch 2
Magnetic Carb Cap
No more chasing your carb cap across the table, or getting it dirty as you set it down somewhere whilst it was sticky and got it all covered in lint. The slick magnetic design easily clicks into place and allows for effortless 360° directional airflow for those who like to control mid-hit vapour production.
20mm Quartz Insert
Let’s not underplay it: 20mm is massive, not much smaller than a full bucket banger, this allows for big globs or small testers while ensuring even heat thanks to the IR Sensor. Quartz is ideal for purity, so you get flavour-forward, terpene-rich draws every time.

App Functionality
The companion app turns the Switch 2 into an actual smart rig:
- Set custom temps down to the degree
- Switch between heating modes
- View heat history
- View presice battery life and dab counter
- Activate cleaning assist
- Control the IR sensor sensitivity
- Change light colours and save different heating settings to the device.
Cleaning Assist Mode
Let’s face it: cleaning rigs is usually a pain. But with Cleaning Assist, you can warm the quartz insert just enough to loosen sticky residue or lift it out easily. It’s a simple touch that makes all the difference. Cleaning with isopropyl alcohol and cotton swabs after each use will ensure your device is kept in the best possible condition. Ensure that you use your included tweezers to remove the Quartz insert as it can be easy to break.
Three Heating Styles
Each style changes how the temperature interacts with your dab:
- Steady: Best for flavour consistency and even clouds
- Ascent: Slow build for terpene release and smooth transitions
- Descent: Great for high-temp melts that taper off into a cool-down
This isn't just a gimmick—it’s a game changer for dialling in your ideal session.
Custom Temperature Control (250°F–600°F)
Complete control, from low-temp flavour savers to high-temp cloud chasers. You can set it via the app or directly on the unit.
Induction Omnidirectional Heating
There are no coils here. The Switch 2 uses a magnetic field to heat the entire surface of your insert evenly. Think surround sound, but with heat. It’s faster, safer, and more consistent. Works with Dry Herb also.
Switch 2 can transform into a dry herb vape with the quartz insert removed. It may not replace your dedicated flower unit, but it is still great for vaping casual bowls of dry herb between dabs.
Heated Loading Tool Included
 This tool gets hot enough to drop your concentrate straight into the cup without sticking. It’s sleek, safe, and incredibly satisfying to use. (Ever get frustrated by goopy leftovers? Never again.
Sapphire Insert (Sold Separately)
If you want the cleanest possible vapour and superior heat retention, the Sapphire insert is an absolute gem—literally and figuratively.
Inclyer Glass Attachment (Sold Separately)
It’s more than a pretty add-on. This upgraded bubbler enhances airflow, cools vapour more effectively, and looks stunning.
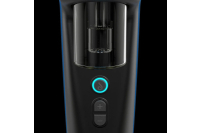
IR Sensor
Use hand gestures to trigger the device. It’s perfect when you’re mid-session and don’t want to fumble with buttons. You’ll feel like you’re vaping in a sci-fi movie.
360° Directional Airflow
Rotate the carb cap as you inhale to shift airflow inside the insert. This helps clear the chamber evenly, spreads your dab across the quartz, and maximises vapour density.
Clean Vapour Pathway
No silicone, no plastic. Just pure flavour through a straight-shot glass and metal path. It’s one of the cleanest rigs available in terms of material contact.
Full Feature Comparison Table
Details
Quartz Insert 20mm extra-large, included
Heating Modes: Steady, Ascent, Descent
Temp Range 250°F – 600°F
Heating Metho:d Induction omnidirectional
IR Sensor Yes – hands-free operation
Carb Cap Magnetic, directional
App Control Full customisation + usage tracking
Cleaning Assist: Preheats the insert for easier removal
The Heated Loading Tool is included for precise, no-stick loading
Dry Herb Compatibility: Yes – when the quartz insert is removed
Optional Inserts Sapphire (sold separately)
Optional Glass Inclyer bubbler (sold separately)
Airflow 360° directional control
Vapour Pathway Clean—glass and metal only, no silicone
Step-by-Step Guide: Using the Dr. Dabber Switch 2 Like a Pro
Step 1: Power On Your Switch
Flip the switch on the side of the unit. The LED ring will light up, and the device will softly hum, letting you know it’s alive and ready.
Step 2: Connect to the App
Fire up the app on your iPhone or Android. Connect via Bluetooth and unlock the customisation dashboard. You’ll immediately see the heating modes, session time controls, and cleaning settings.
Step 3: Preheat with Cleaning Assist
Tap “Cleaning Assist” in the app. This will gently warm the insert, making it easier to remove and clean. It’s a small but mighty step that saves effort (and fingernails).
Step 4: Remove and Clean the Quartz Insert
Using the tweezers or loading stand, lift the quartz insert out. Wipe it down with isopropyl alcohol and cotton swabs. Removing residue here keeps your flavour crisp and extends the insert’s life.
Step 5: Reinsert with Precision
The quartz cup should slide right back in—no forcing. The snug fit helps with heat retention and overall vapour production.
Step 6: Prep Your Heated Loading Tool
Turn on the heated dab tool and scoop up a small amount of concentrate. Let the tool melt it off—this avoids waste and improves loading accuracy.
Step 7: Load Your Dab
Gently hover the tool over the centre of the quartz cup and activate the heat. The dab will slide cleanly in and start melting instantly.
Step 8: Pick Your Heating Style
This is where personal preference shines. For example:
- Steady if you want complete control over flavour and effect
- Ascent if you like smooth ramps that build intensity
- Descent for hard-hitting starts with tapering ends
Step 9: Place the Magnetic Carb Cap
Position it on top of the chamber—it will click into place magnetically. Now you're sealed and ready to sesh.
Step 10: Heat It and Inhale
Activate the session using either the app or the physical button. Once it reaches temperature, inhale and rotate the carb cap to steer the airflow. You'll feel the difference in cloud production and smoothness.
Dry Herb Mode: Switching It Up
To use the Switch 2 for dry herb:
- Remove the quartz insert
- Load your ground flower into the empty chamber
- Select a lower temperature (~375–420°F for optimal flavour)
- Activate using the app or switch
It’s not a complete replacement for a dedicated herb vape, but it gets the job done with flavour, too.
Cleaning & Maintenance Tips
- Daily: Wipe the quartz insert and loading tool after use
- Weekly: Deep clean the glass and carb cap with ISO
- Monthly: Use the Cleaning Assist mode and reset your usage log in the app
- Pro Tip: Keep extra inserts on hand so you can soak one while using another
Final Thoughts: Is It Worth the Hype?
Without a doubt, yes. The Dr. Dabber Switch 2 isn’t just another e-rig—it’s an ecosystem of smart tech, premium materials, and thoughtful engineering. It delivers vapour quality, usability, reliability, and flexibility.
Whether microdosing or going big, chasing terps or stacking clouds—the Switch 2 adjusts to your style.
Conclusion
So, what’s the final verdict? The Switch 2 might just be the ultimate e-rigs It’s packed with tech that makes a difference: induction heating, app control, a beastly quartz insert, and game-changing cleaning features.
From casual hits to connoisseur-level sessions, this device adapts to your style.
FAQs
1. Can I use Switch 2 for both concentrates and flowers?
Absolutely. Just remove the quartz insert to switch into dry herb mode. It’s fast, easy, and effective.
2. How does the IR sensor work?
It detects your hand near the top of the unit and can trigger heat activation. Perfect for hands-free sessions or when you’re multitasking.
3. What’s the difference between the three heating styles?
- Steady: Balanced heat throughout
- Ascent: Starts incredible, ends warm
- Descent: Starts hot, then cools down
- Each one caters to different dabbing preferences.
4. Is the app necessary to operate?
Nope! You can use all the core functions without it, but the app unlocks advanced features and gives you complete control.
5. What’s the best temperature for flavour-focused dabs?
Try setting it between 450°F and 520°F. It’s hot enough for decent clouds but still preserves those delicate terpenes.

Recent Posts
-
New Arrivals from Night Owl Seeds: The Banana OG Collection Has Landed
 July 14, 2026
 -
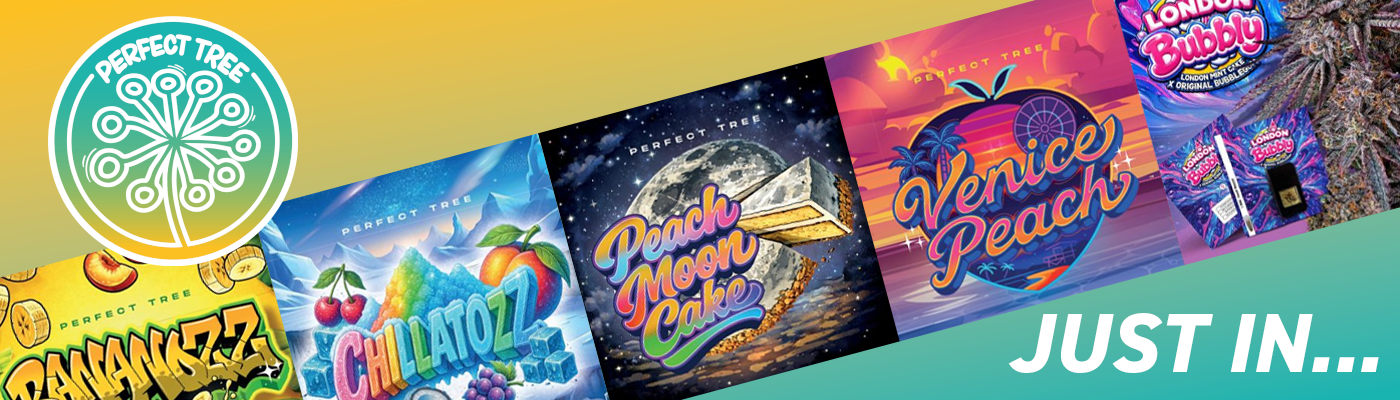
New Perfect Tree Cannabis Seeds Arrive at Pure Sativa: Peach Moon Cake, Chillatozz, Bananozz & Venice Peach
 July 10, 2026
 -
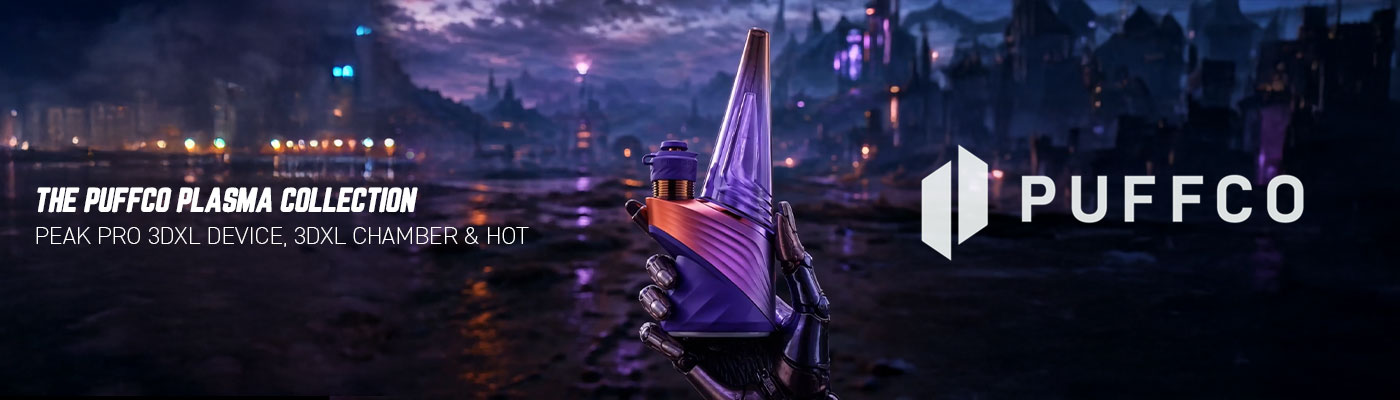
Puffco Plasma Collection Drops Today at Pure Sativa: Peak Pro 3DXL Device, 3DXL Chamber & Hot Knife
 July 8, 2026
 -
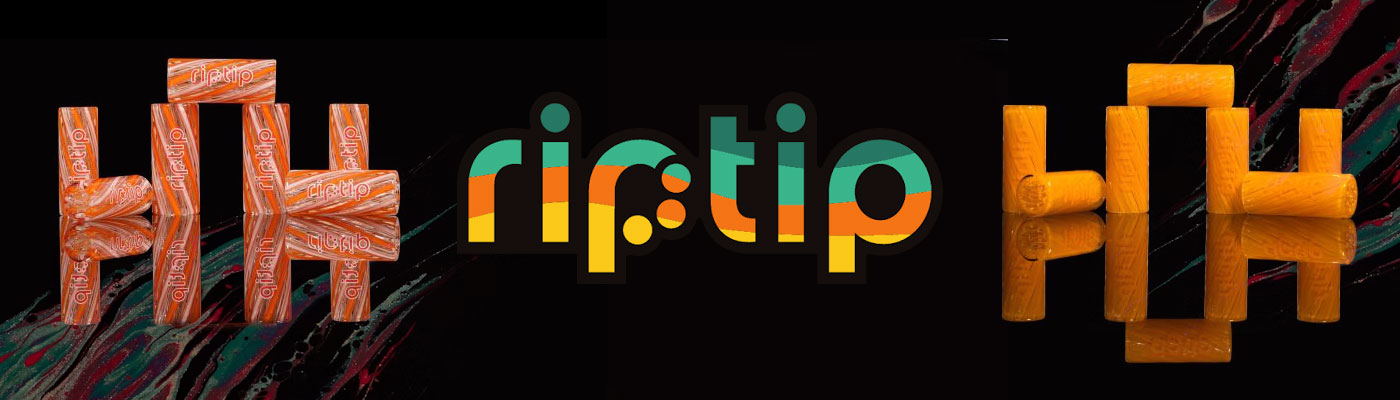
RipTip Review: Premium Reusable Glass Tips at Pure Sativa
 July 7, 2026
 -
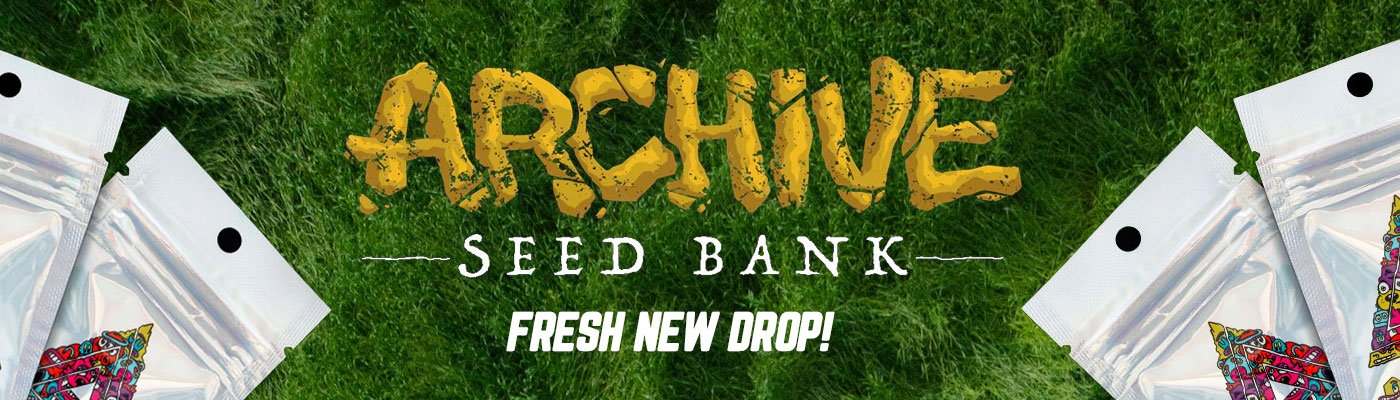
New Archive Seedbank Strains at Pure Sativa: 8 Regular Seeds Now Available
 July 3, 2026